Save water, energy and cash with our simple, step-by-step guide on how to stop a leaking tap in your kitchen.
A dripping tap is notoriously annoying. But more than that, it could be costing you money. If you have a water meter, a tap that drips every second could run up your bill by wasting around four litres a day.
In the worst-case scenario, a dripping tap could cause serious property damage. In fact, the annual cost of insurance claims for water damage in the UK is nearly £400m.
The good news is that fixing a leaking tap is a job that, with a few household tools and simple spares, can be done without having to call out a plumber. Of course, if you’ve little confidence in your DIY skills, do call in a professional.
Different types of taps![tap]()
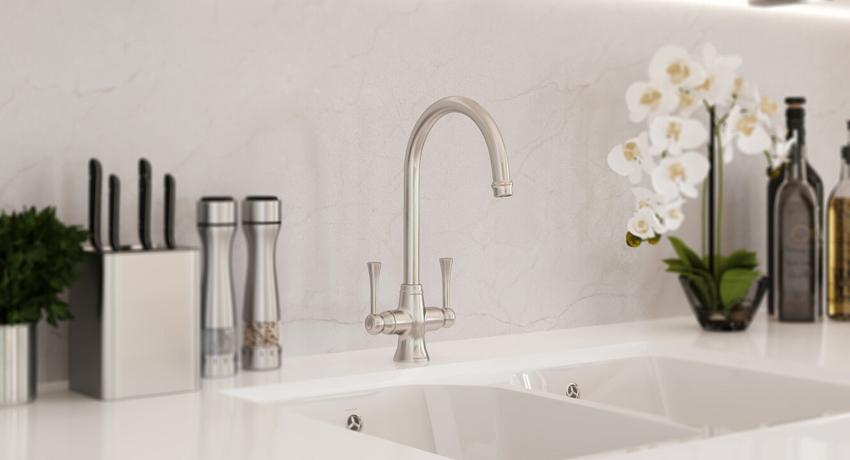
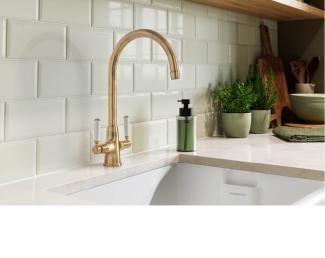
Although there are variations when it comes to design, there are basically just two types of taps and tap handles: traditional taps and monobloc taps or mixer taps. Cold and hot water comes from a single source and the temperature and flow are controlled using either one or two levers.
With the traditional type, dripping is caused when an internal rubber washer is damaged and needs to be replaced. If fitting a new washer doesn’t fix the problem, you may have to replace the tap’s O-ring.
Monobloc lever taps have a cartridge which holds two ceramic discs instead of washers. One disc is for the cold water and the other for one for hot. If a monobloc tap is leaking, you’ll probably have to replace this cartridge.
Before you start
Before you fix a leaking tap, or start any plumbing work, always turn off the water supply. You can do this by turning the stopcock or, using a screwdriver, the isolation valve, which is usually located on the water supply pipes underneath the sink.
Now run the tap again until there's no more water left. It’s important the tap is thoroughly drained before you start to fix any leaks.
Get all your tools ready and make sure everything else you need is close by. It’s always a good idea to put the plug in the sink too. You don’t want to lose any small parts down the plughole.
You will need:
- A flathead and/or crosshead (Phillips) screwdriver
- An adjustable spanner
- A new tap washer or, for monobloc lever taps, a replacement cartridge
Depending on the type of tap you have, there are a couple of different methods and things to look out for, which are covered below.
How to stop a dripping traditional tap
Step one
Find the screw holding the tap together. This is usually hidden underneath the decorative ‘hot’ or ‘cold’ cap, which can be popped carefully off with a small flathead screwdriver.
Step two
You’ll now see the small screw that holds the tap together. Completely loosen and remove this screw and you’ll then have access to the valve. If the screw is not moving, use a lubricant, such as WD40.
Step three
With an adjustable spanner, hold the central hexagonal nut and unscrew the spindle, while taking hold of the tap with your other hand. Remove the small washer at the bottom of the stem and replace it with a new one.
If you lay out all the parts on the side of the sink in the order you remove them, it will be easier to complete this stage.
If you’re unsure what size of washer to use, take the spindle to a plumbing merchant or DIY store and ask for the appropriate washer. Alternatively, just buy a bag of assorted washers.
Step four
Put the tap back together, remembering not to over-tighten the valve. This may damage or put excess pressure on the joint
Turn the isolation valve or stopcock back on. All done.
Replacing an O-ring
If the tap is still dripping after you’ve replaced the washer, check the O-ring to see if it too needs replacing. This is another, larger rubber seal that sits at the bottom of the spout inside the spindle.
The O-ring can be easily removed by loosening with a flathead screwdriver and sliding off. Or you could just cut it off with a pair of scissors. Roll the new O-ring on and reassemble the tap, as above.
How to fix a leaking monobloc lever tap
A dripping monobloc tap most probably means the cartridge containing the two ceramic discs needs replacing. This is easily done. Just start by undoing the small grub screw which usually sits under the hot or cold indicator button.
Once you’ve removed the tap’s metal shroud, grip the valve with an adjustable spanner and remove it. Pop the replacement cartridge in and put your tap back together.
It’s important to make sure you buy the correct cartridge for your monobloc tap. So do check the user guide.
Final thoughts
Learning how to fix a leaking kitchen tap is a handy skill to have. The fix does require a few upfront expenses if you don’t have the right tools, but you’re sure to save money in the long run.
However, if you’ve tried everything to fix a dripping tap and you still can’t stop the leak, it may be time to call in a plumber.

